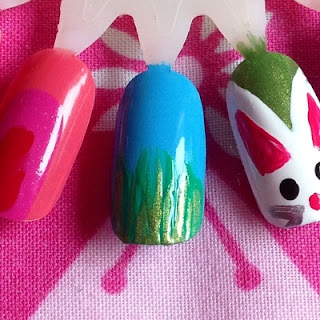
Hello everyone !
Welcome back to day two of my colossal Easter/spring nail art tutorials. Today's tutorial is the Daisies design. It looks quite involved, but that's because it's got lots of layers, it's really very simple. Give it a go!
You will need:
Starting with a blue base, use a thin paintbrush dipped in green to stroke blades of grass (start from the bottom of the nail)
You might need to do this a couple of times to get an opaque colour.
You might need to do this a couple of times to get an opaque colour.
Using the thin brush dipped in light green (mine is also shimmery) create more blades of grass, just fewer so it doesn't cover the darker green.
Now using the larger end of the dotting tool (or bobby pin), create five dots to create the daisy (you might want to place one in the middle to connect them).
Using the smaller end of the dotting tool (or bobby pin) dipped in the pink, create the centres of the daisies.
Then that's it! If you want to top coat them make sure you leave ample time for it to dry or it might smear.
Then that's it! If you want to top coat them make sure you leave ample time for it to dry or it might smear.
Hope you like it, tomorrow's tutorial will be the pink and white dots (not very exciting I know)
See you tomorrow!
Abi xxx
See you tomorrow!
Abi xxx


No comments
Post a Comment